Section 10: Evaluating Fine-tuned Model by Running Code Detection On Jupyter [Hands-On]
We use our Jupyter Notebook Environment to run the evaluation code on the test dataset and see the accuracy of our fine-tuned model.
Starting up your Jupyter Notebook Environment
For this tutorial, we will use TACC’s Public JupyterHub You may login with your TACC accounts.
Navigating to the $WORK File System
On successful login, ensure that you have access to a folder, work, within the Jupyter file system.
Restarting your Jupyter Server
Click on Files -> Hub control panel -> Stop my server -> Start server
Running the evaluation code
Go to the Jupyter notebook Code-Detection on your Jupyter path.
ai-tutorial-2026 -> notebooks -> Code-Detection.ipynb
Copy the generated code from FlexServ UI in a new cell below the cell titled Put your generated code here.
Make sure the variable DATASET_ROOT is set to path /home/jovyan/ai-tutorial-2026/datasets/AnimalEcology.v4i.yolov11 in your generated code.
Make sure the variable BASEURL is set to the Base URL of your FlexServ and FLEXSERV_TOKEN is set to your FlexServ token.

Running the code in Jupyter, and you should be able to see the evaluation result similar to below
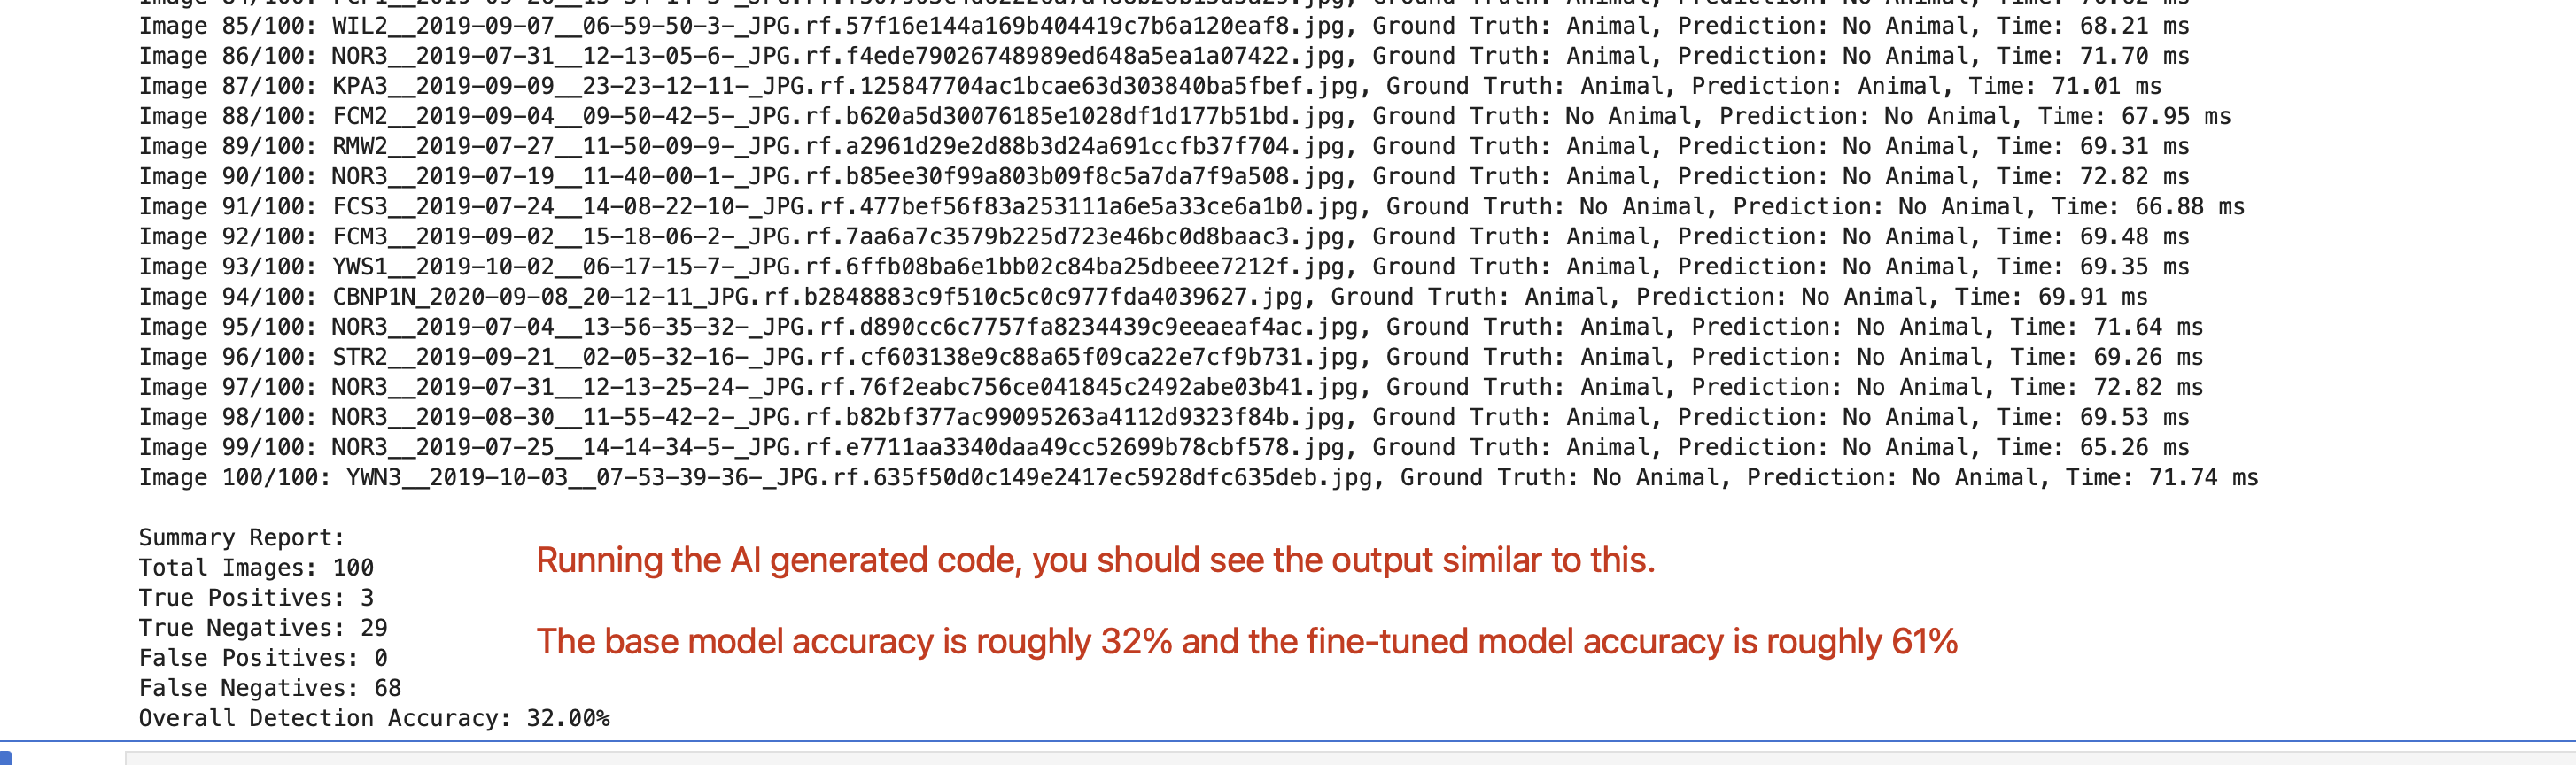
In the code, you can easily switch MODEL_TO_USE between BASE_YOLO_MODEL and FINE_TUNED_YOLO_MODEL to switch between the base model and the fine-tuned model.